Heidelberg Engineering Spectralis
How to Export DICOM from HEYEX 2
Please mind that this instruction is being provided by Heidelberg. If your OCT is not being setup or your interface is different, please contact Tech support at Heidelberg or your distributor and they can help with the setup or update your OCT software to the latest version.
The recommended settings for macula scan are
Retina 3D (Posterior Pole), horizontal b-scans 61 (no fundus image should be exported with b-scans, no reports)
Retinal area of interest – from 6 till 12 mm.
Altris AI analyses the central sector of the retina and does not provide optic nerve analysis
Heidelberg OCT uses degrees, not mm. Please pay attention on the following equivalent: 1mm ~ 3.3° -> 7mm scan ~ 23,1°
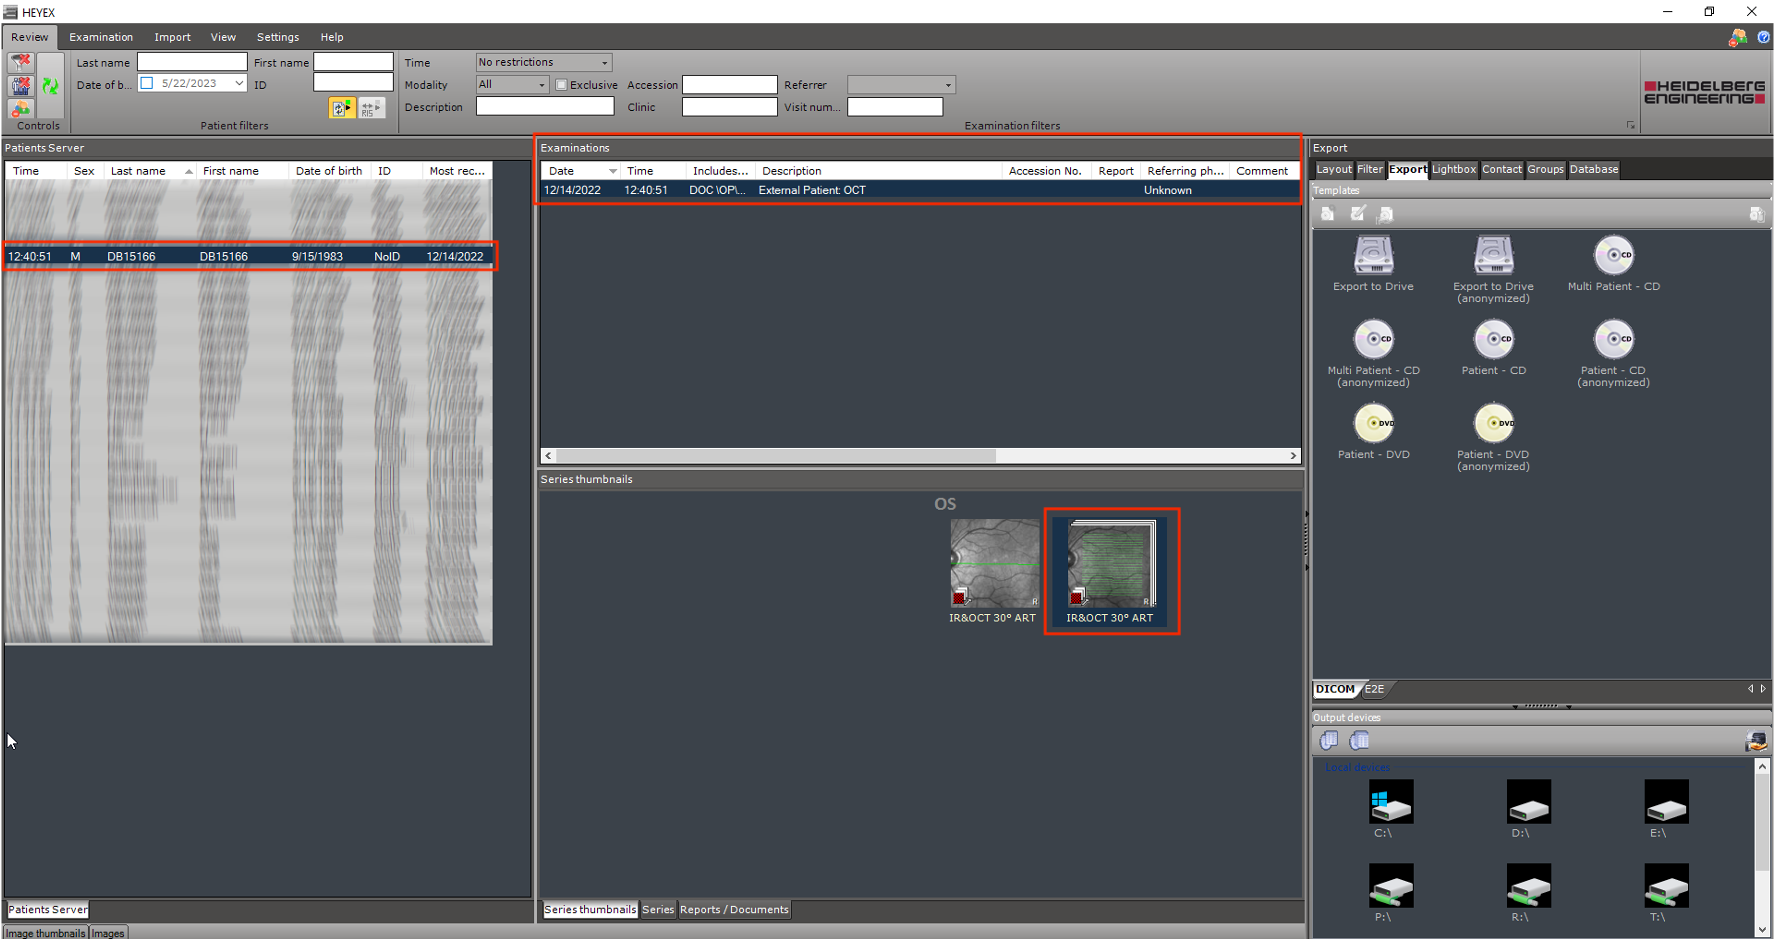
Step 1. Select the desired patient > session and > OCT Data
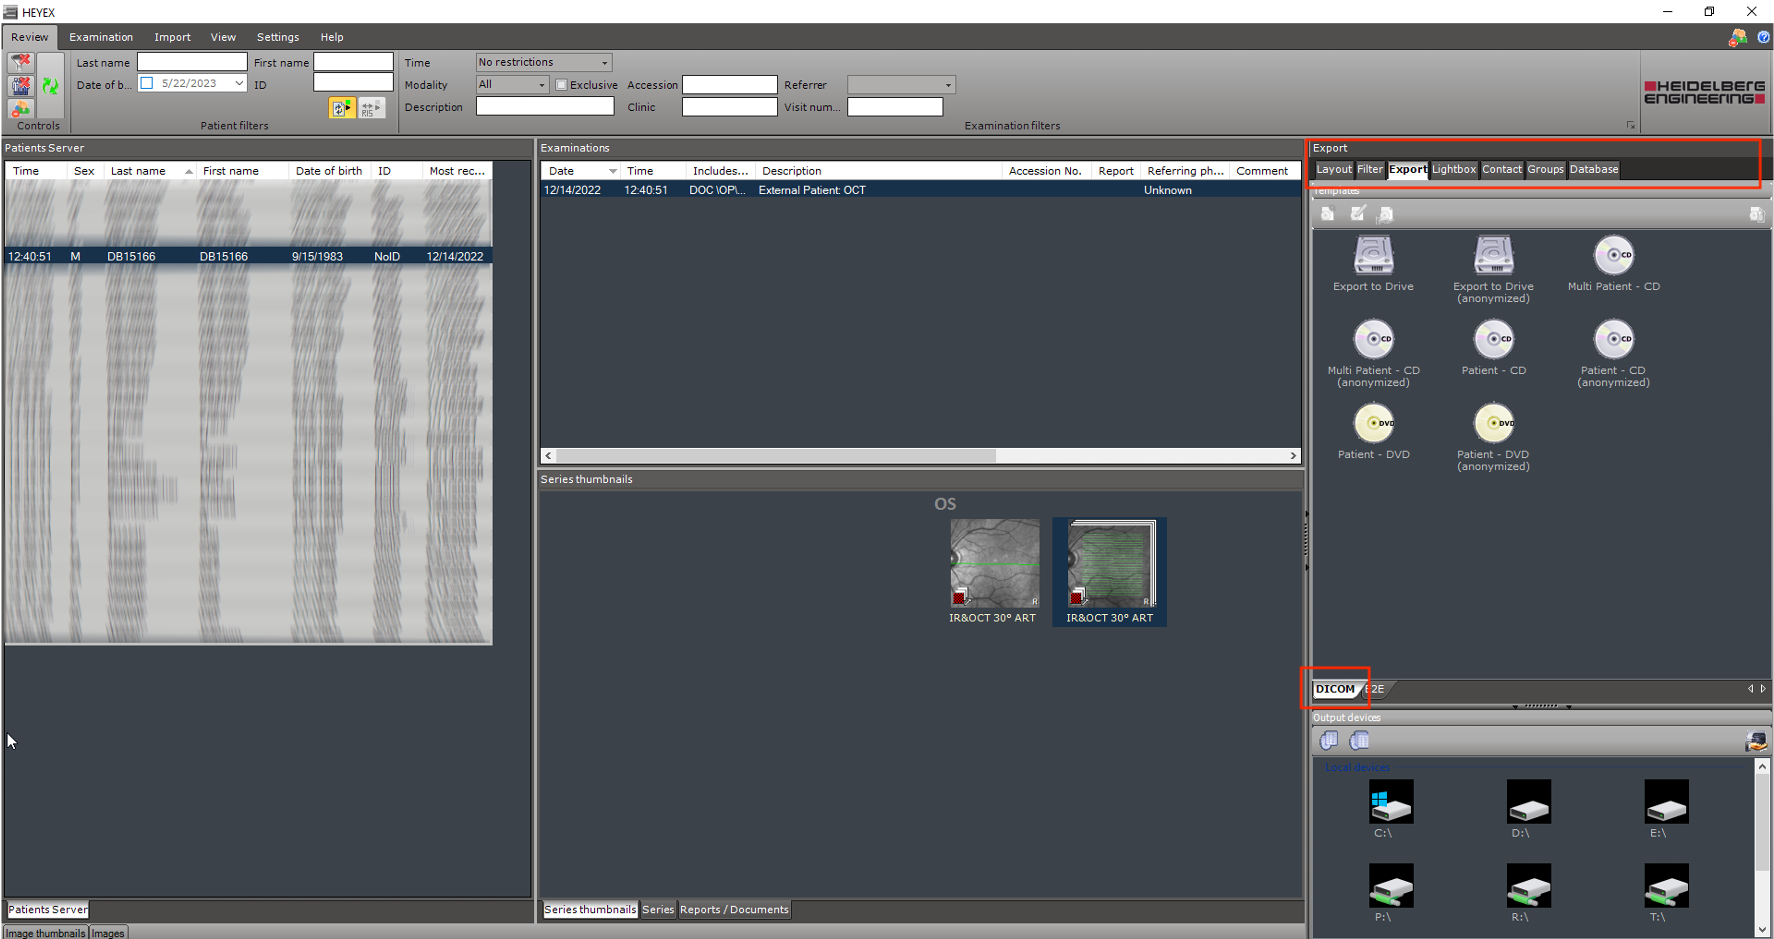
Step 2. In the Export panel > Select Export > Select DICOM
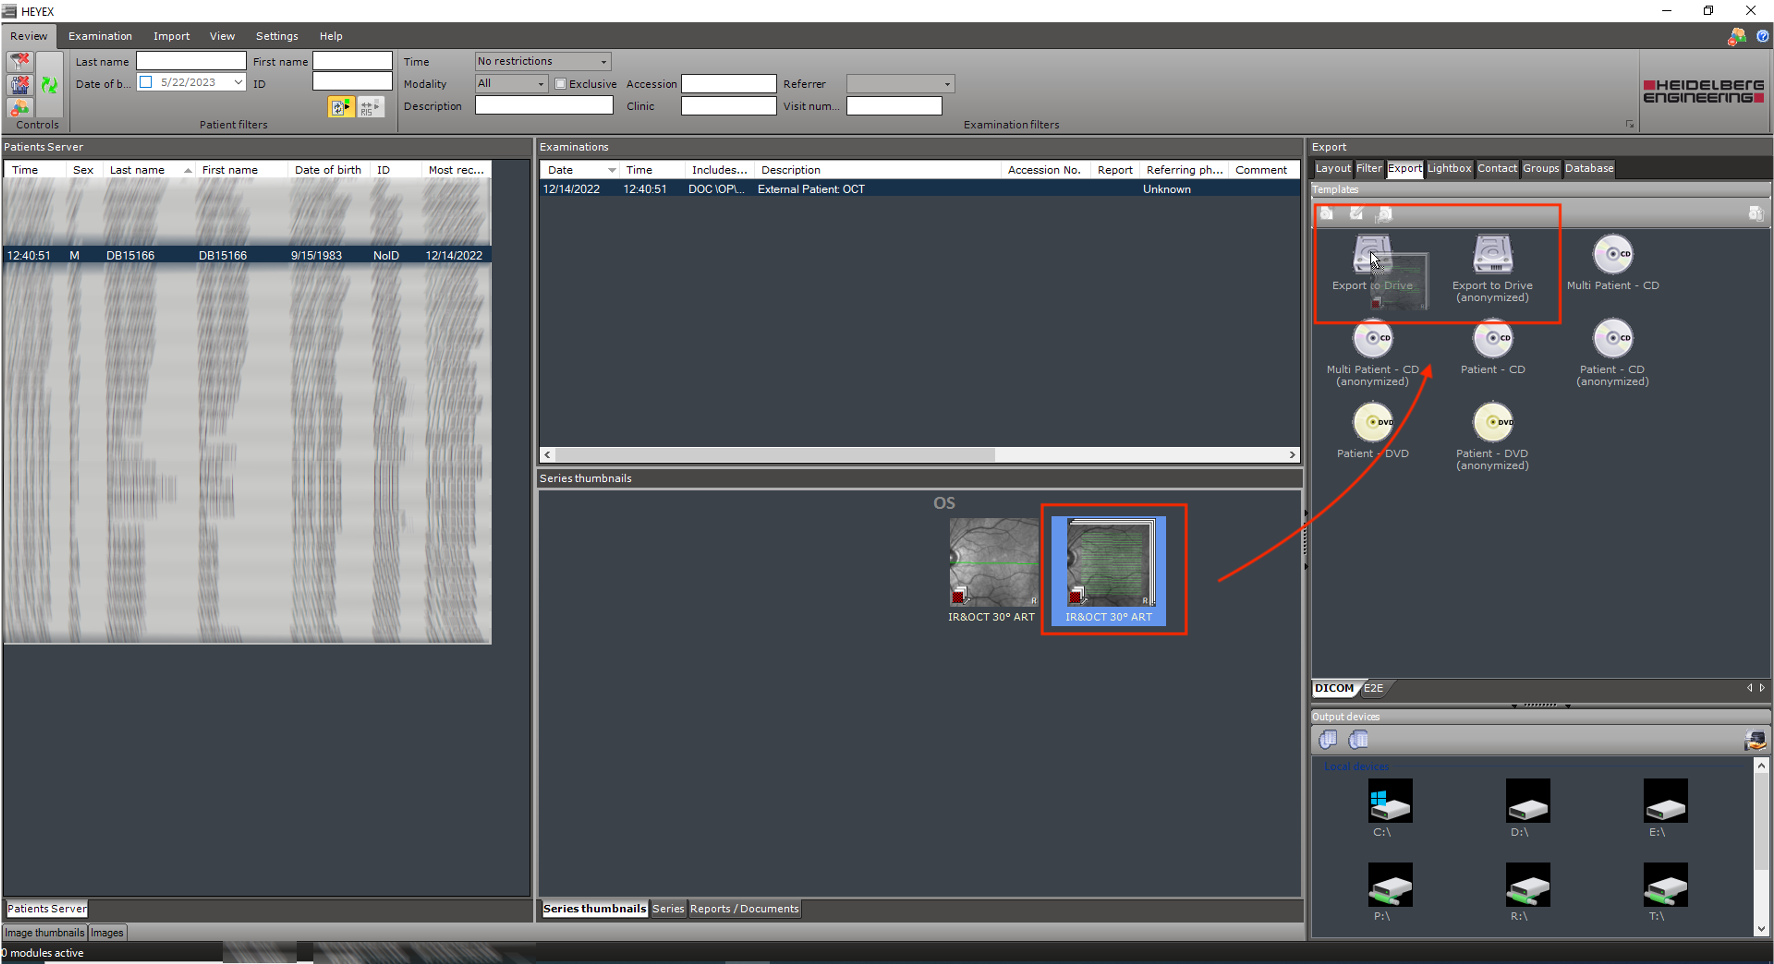
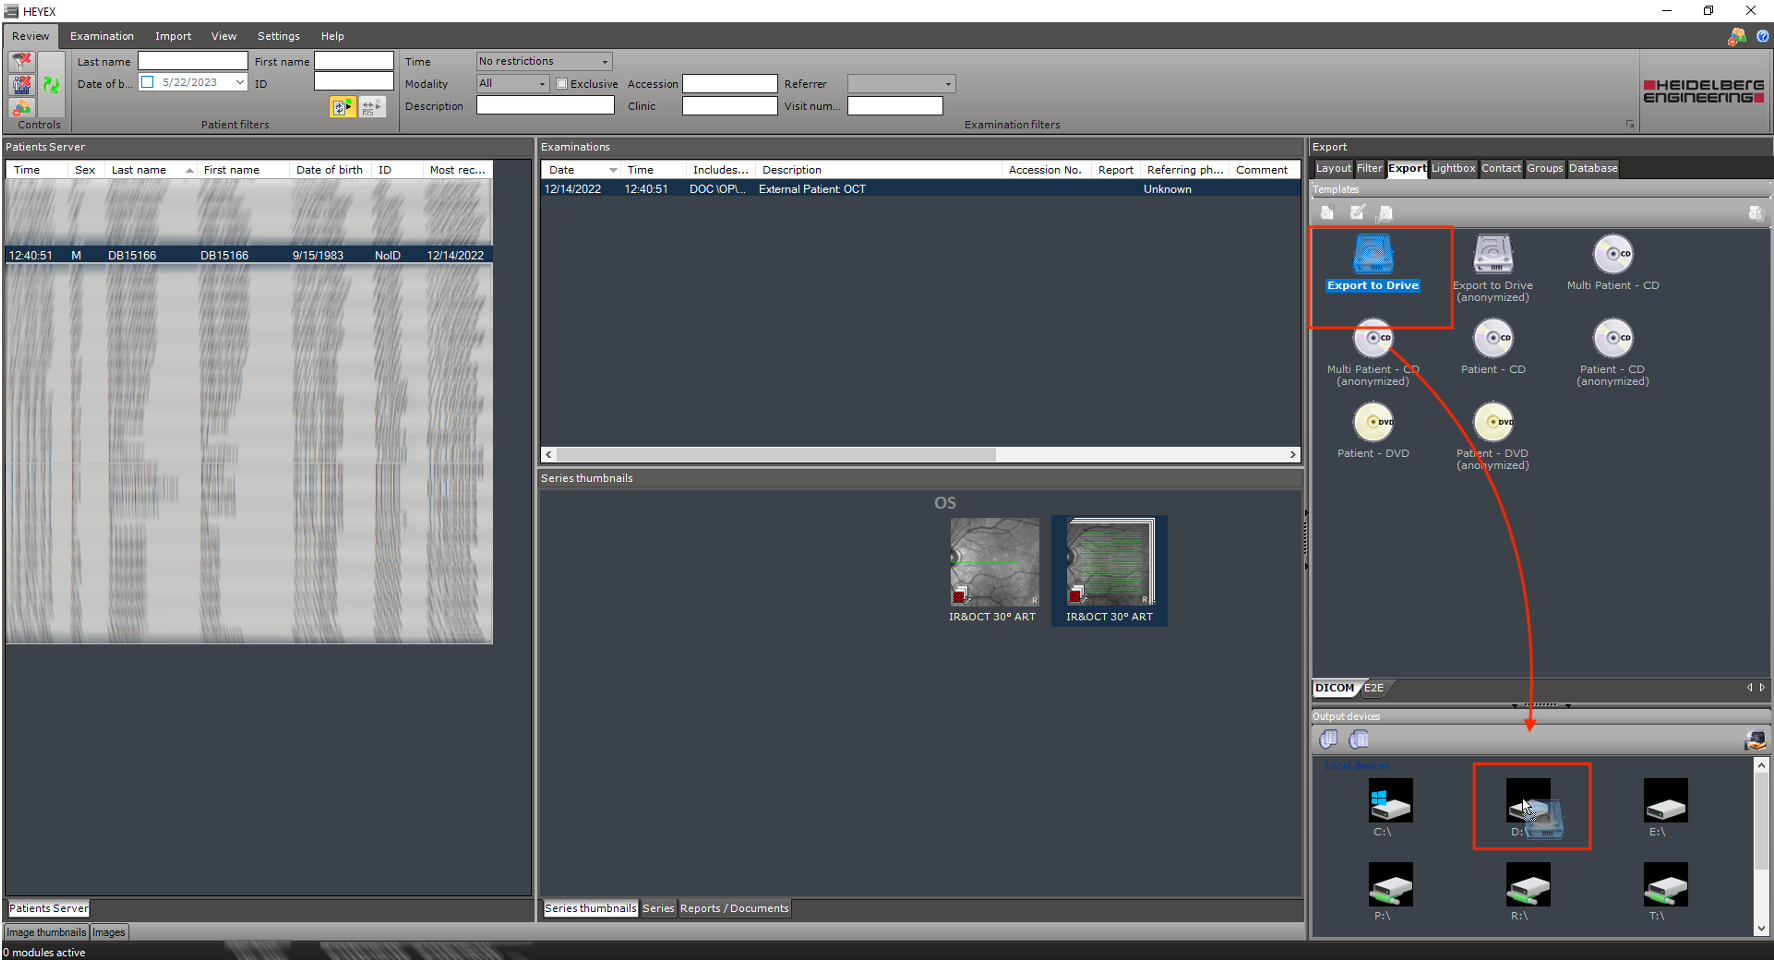
Step 3. Drag and drop your selection to “Export to Drive” or “Export to Drive (anonymized)”
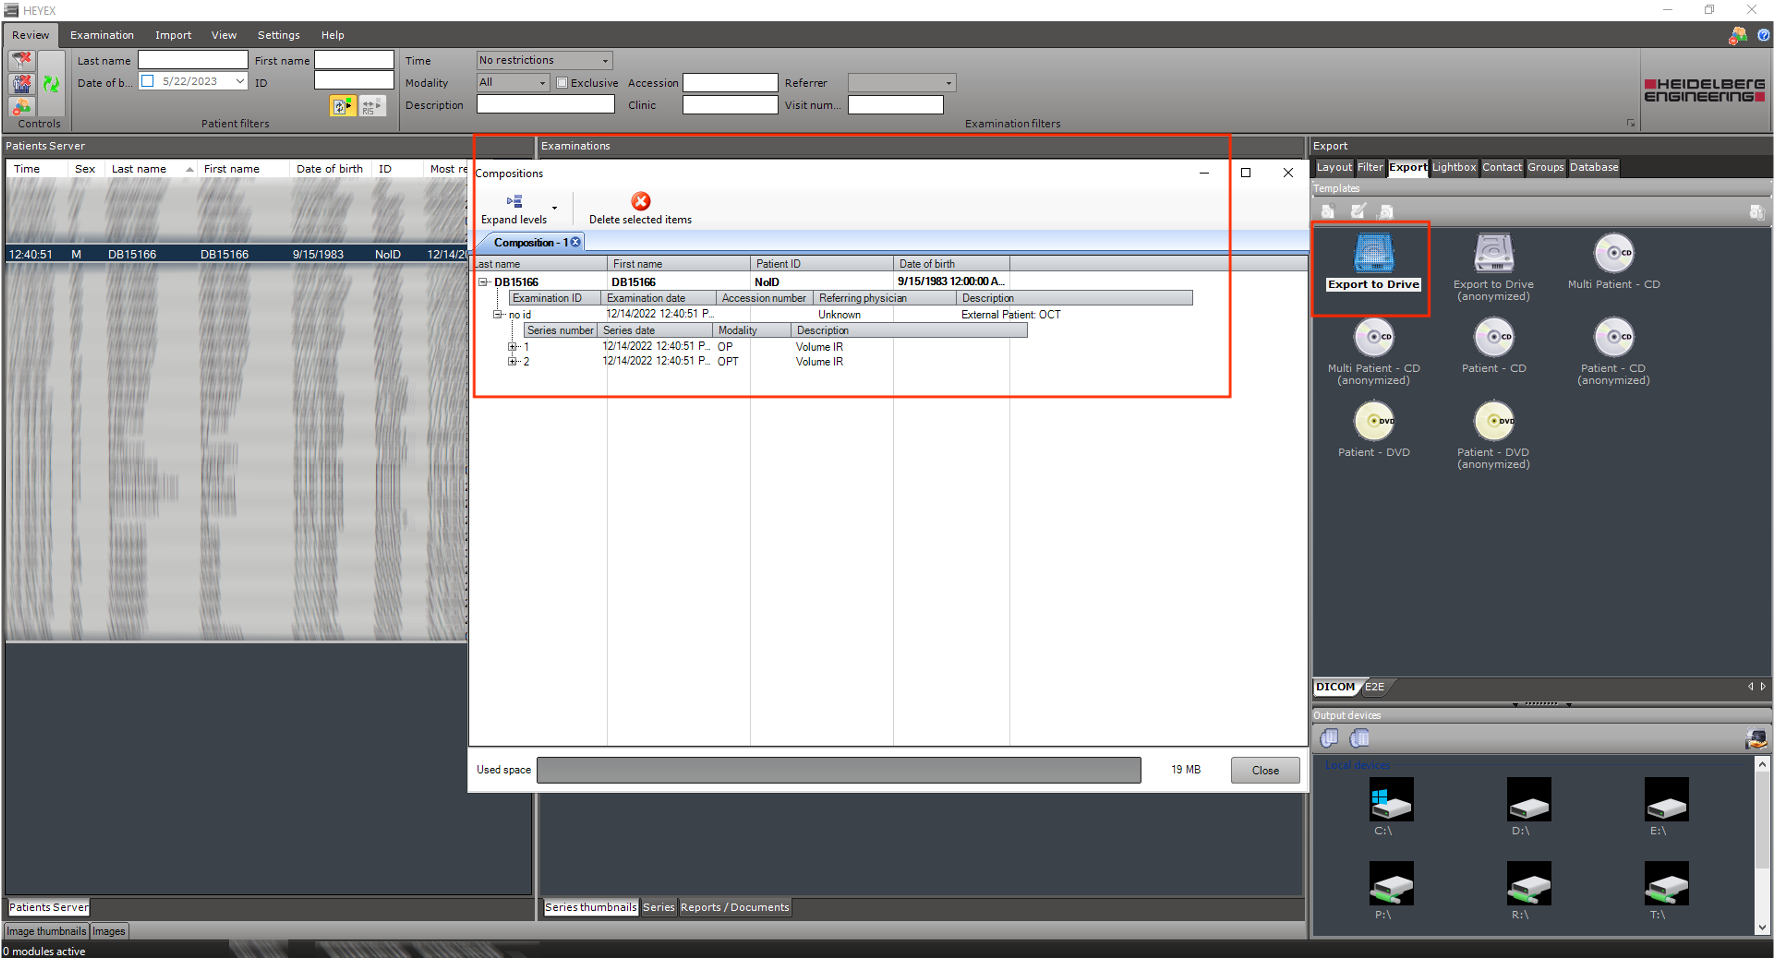
Step 4. One can check the items ready to export by double-clicking on “Export to Drive” or “Export to Drive (anonymized)”
Step 5. To export to the local drive > Drag and Drop Drive Icon to the “Output Device” section
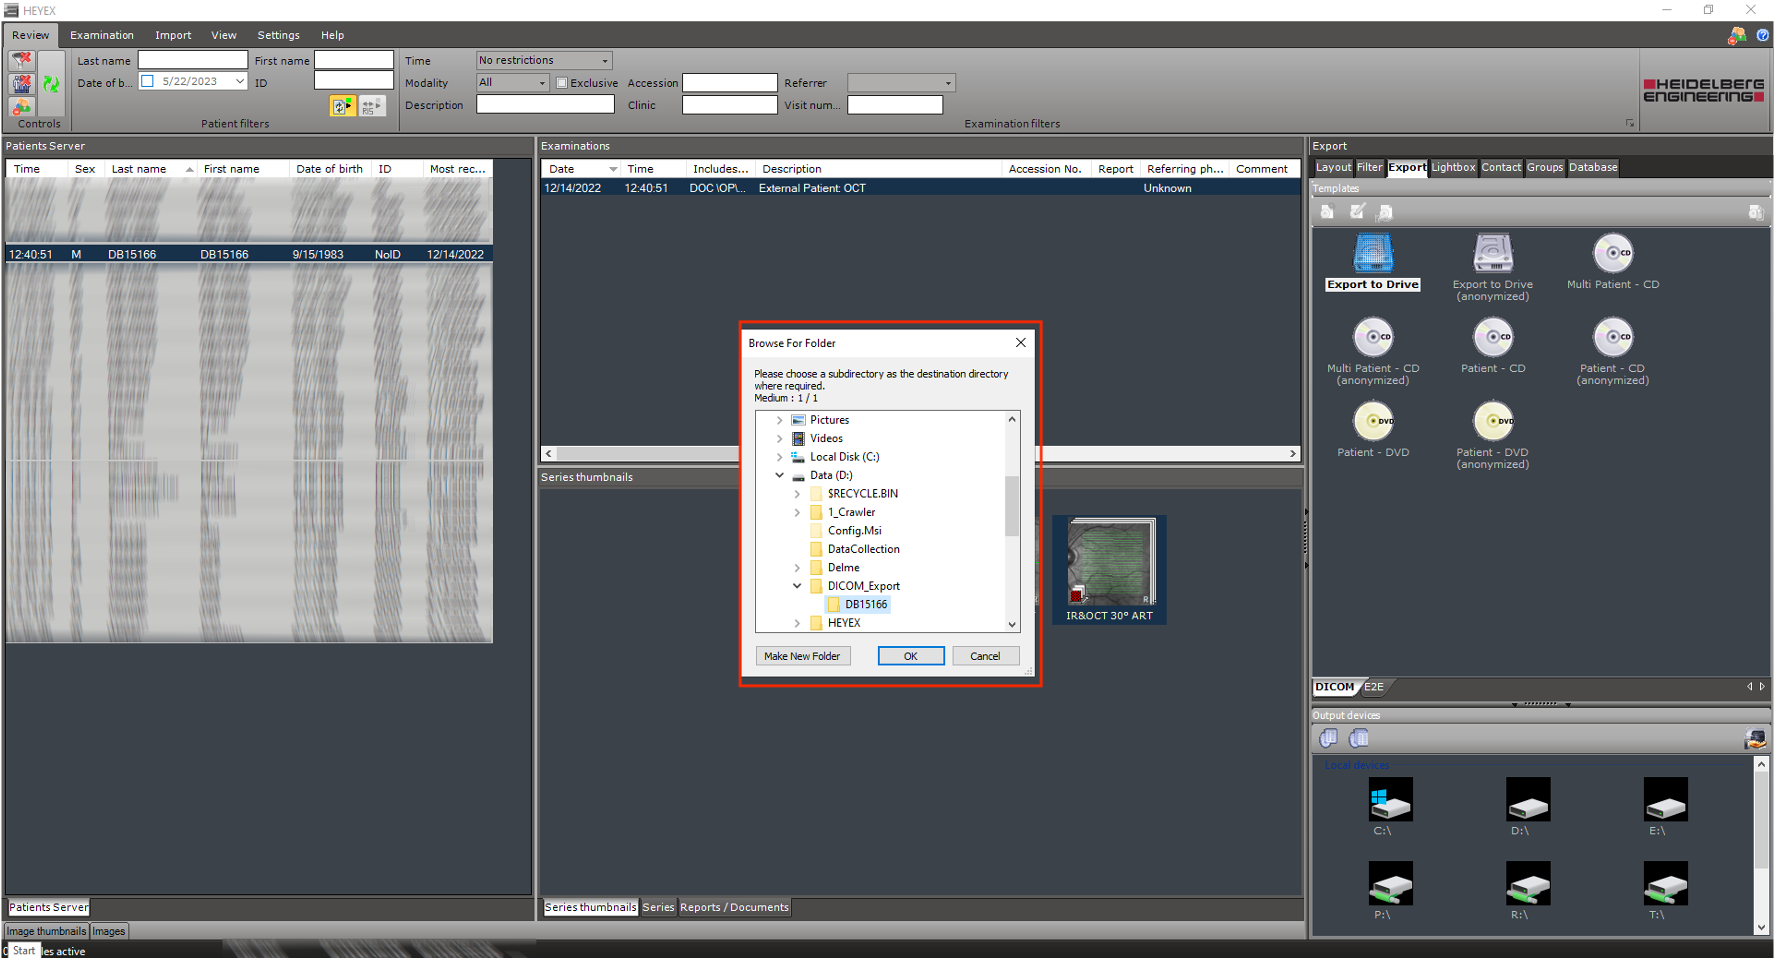
Step 6. A new window will be opened in which one can make/choose the desired folder
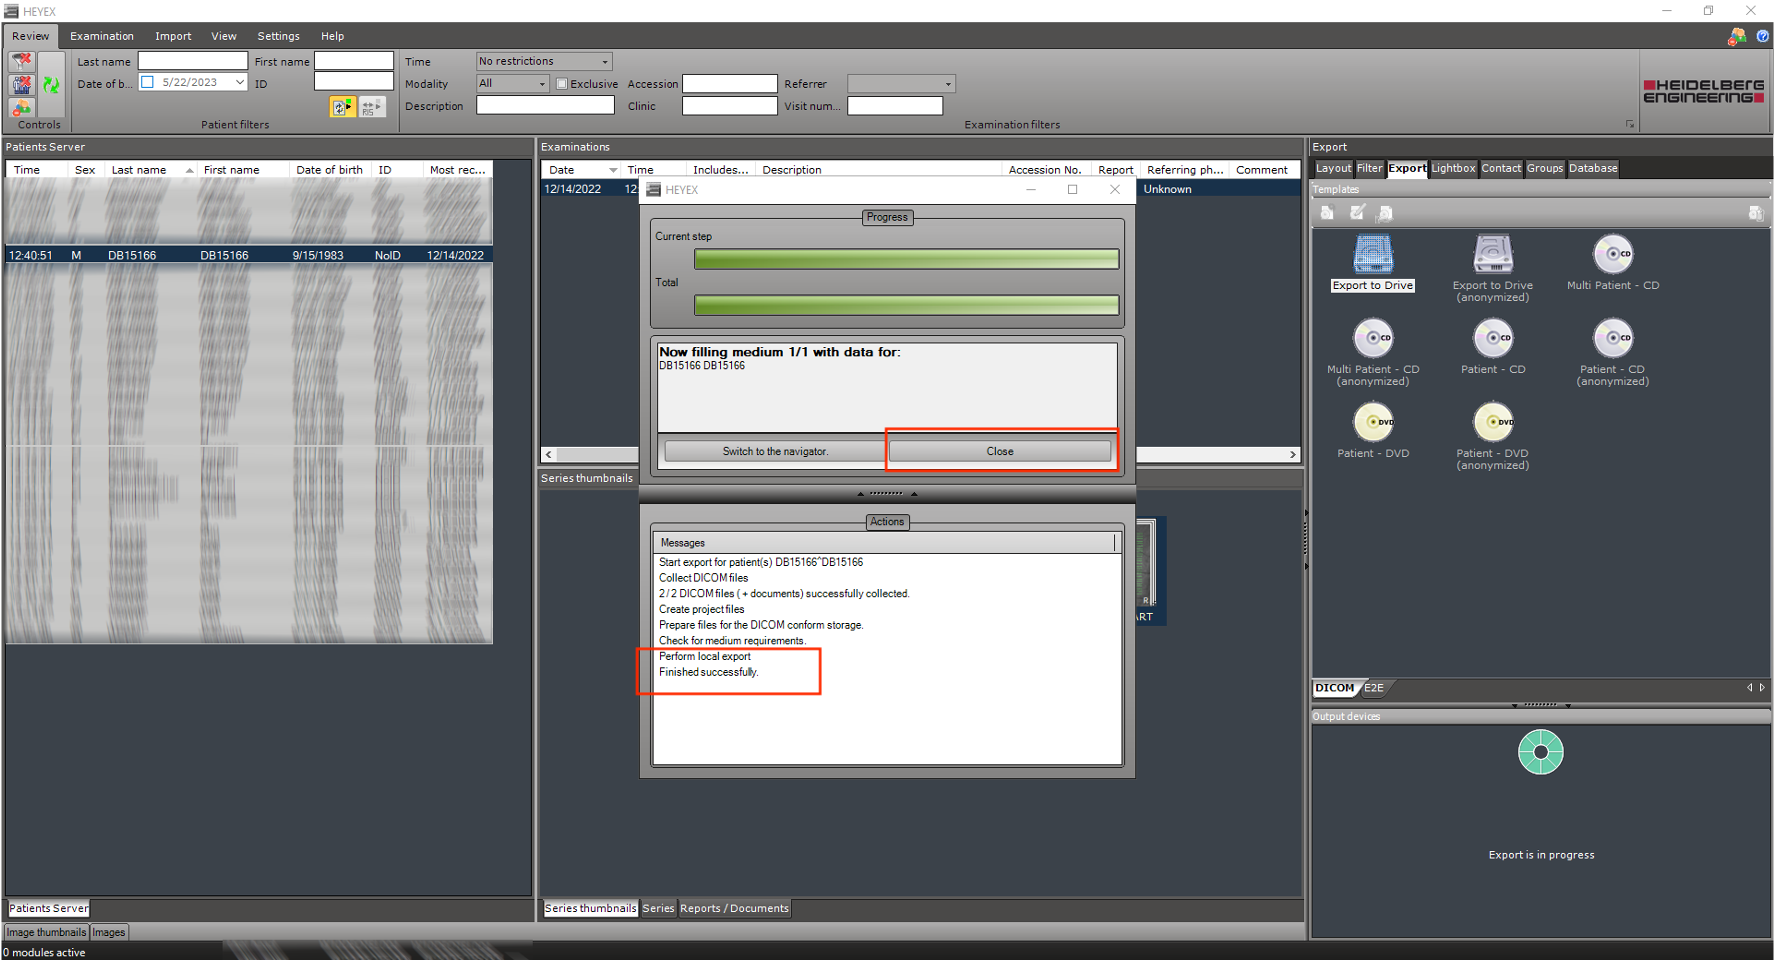
Step 7. Close when the process finished successfully
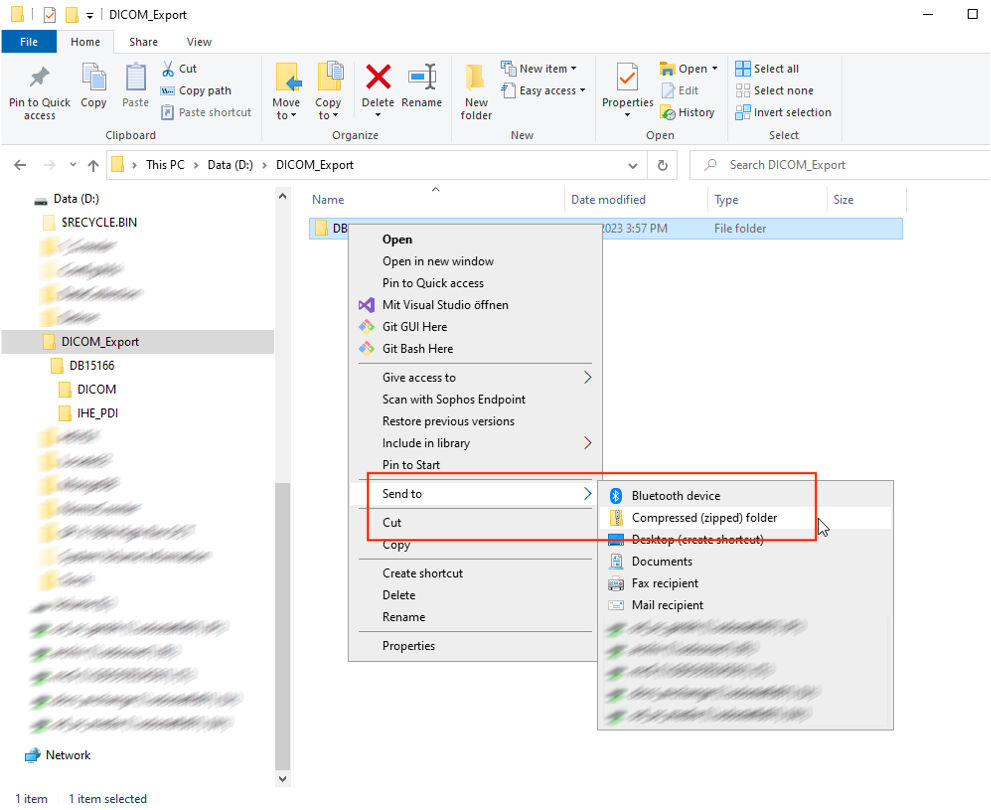
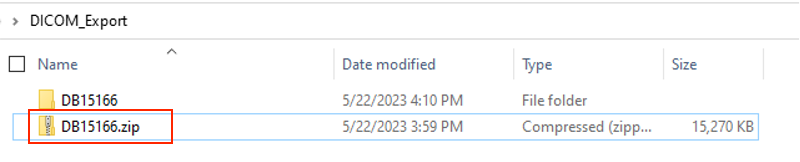
Step 8. Compress the desired folder

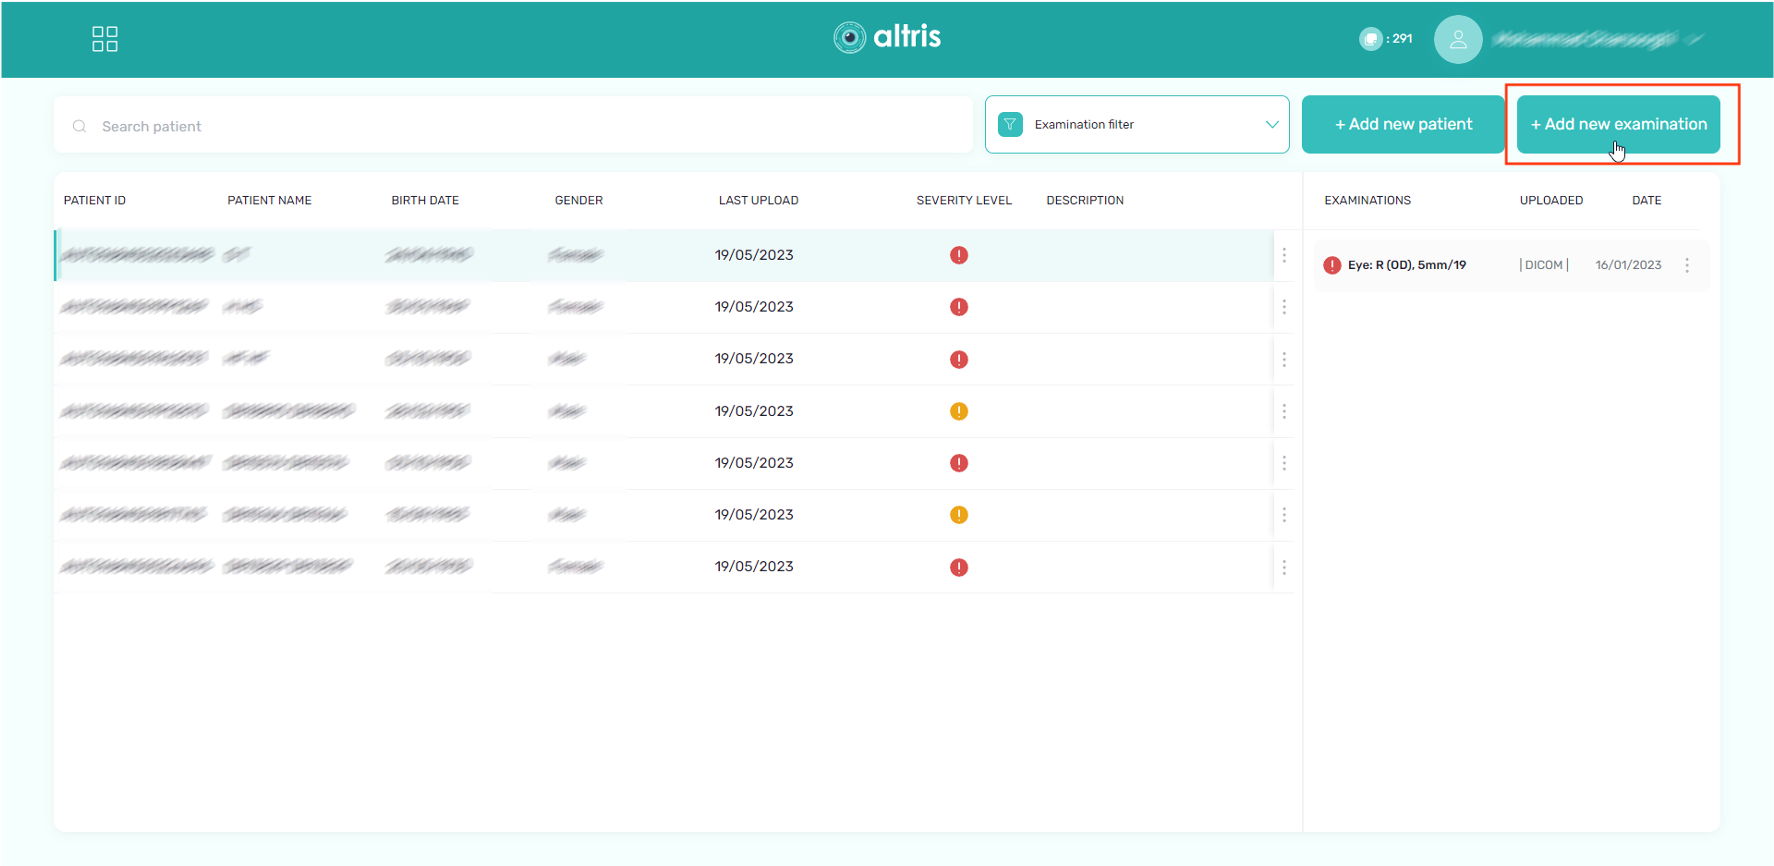
Step 9. In your account in Altris platform > In patients overview windows > + Add new examination
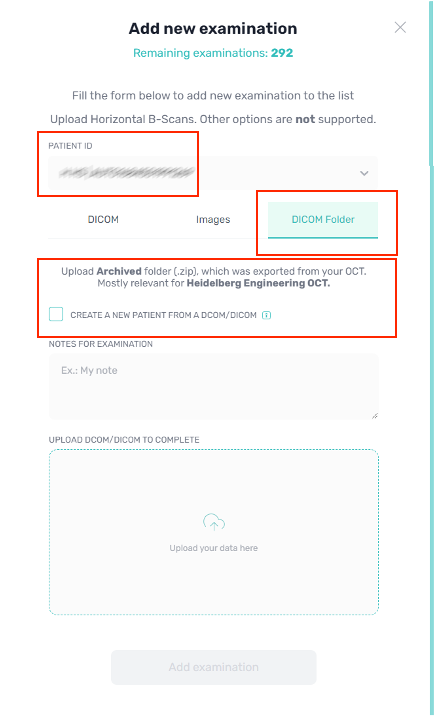
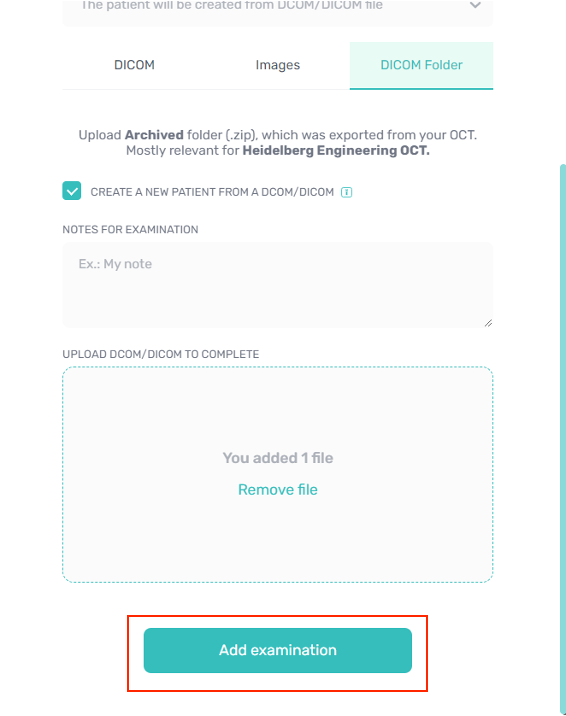
Step 10. In a new window > Select DICOM Folder > Then select Patient ID if a patient already existed or checkmark “CREATE A NEW PATIENT FROM A DCOM / DICOM” if there is a new patient.
Step 11. Drag and drop desired zip file to the bottom section of the opened window
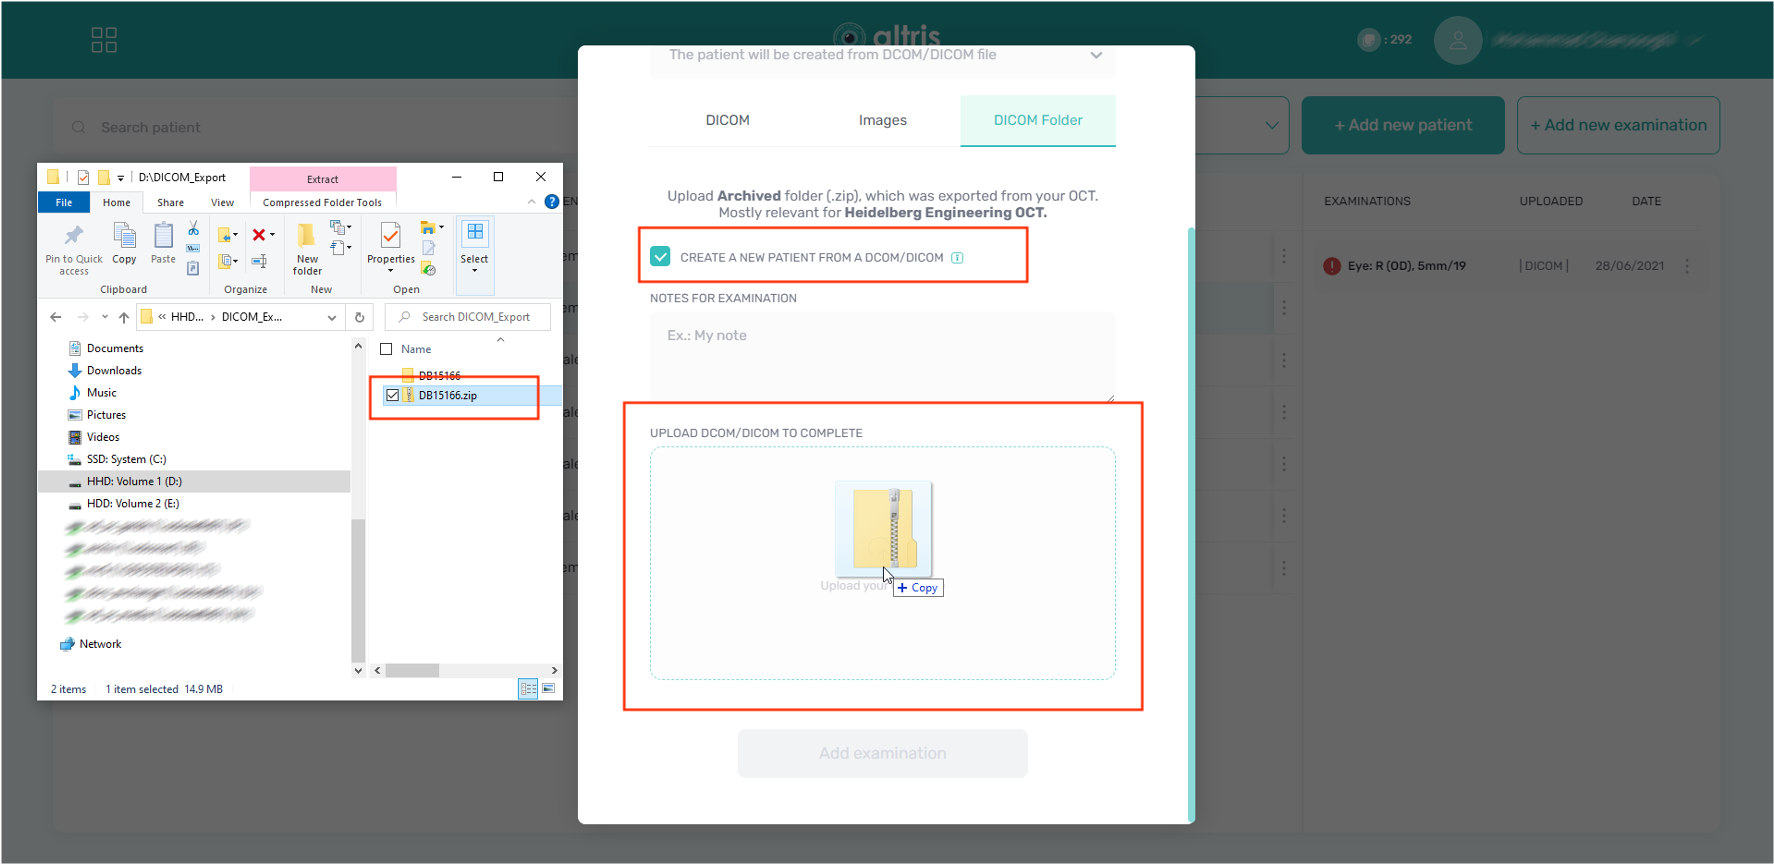
Step 12. After the zip file is added > click “Add examination”
Step 13. The new patient is added and appeared successfully
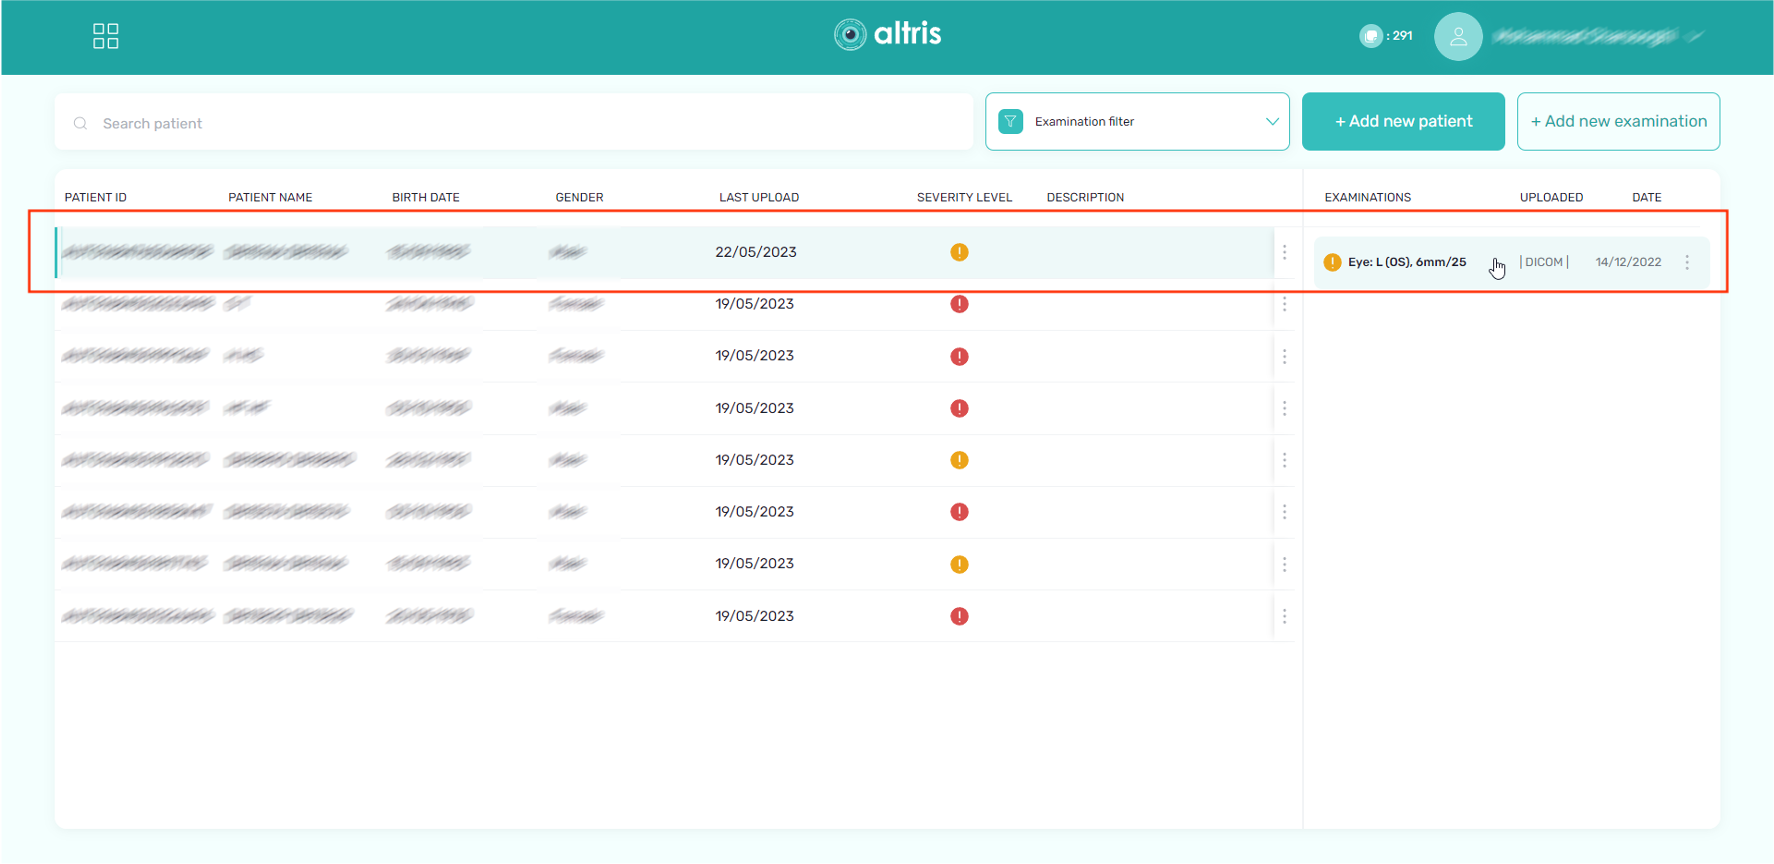
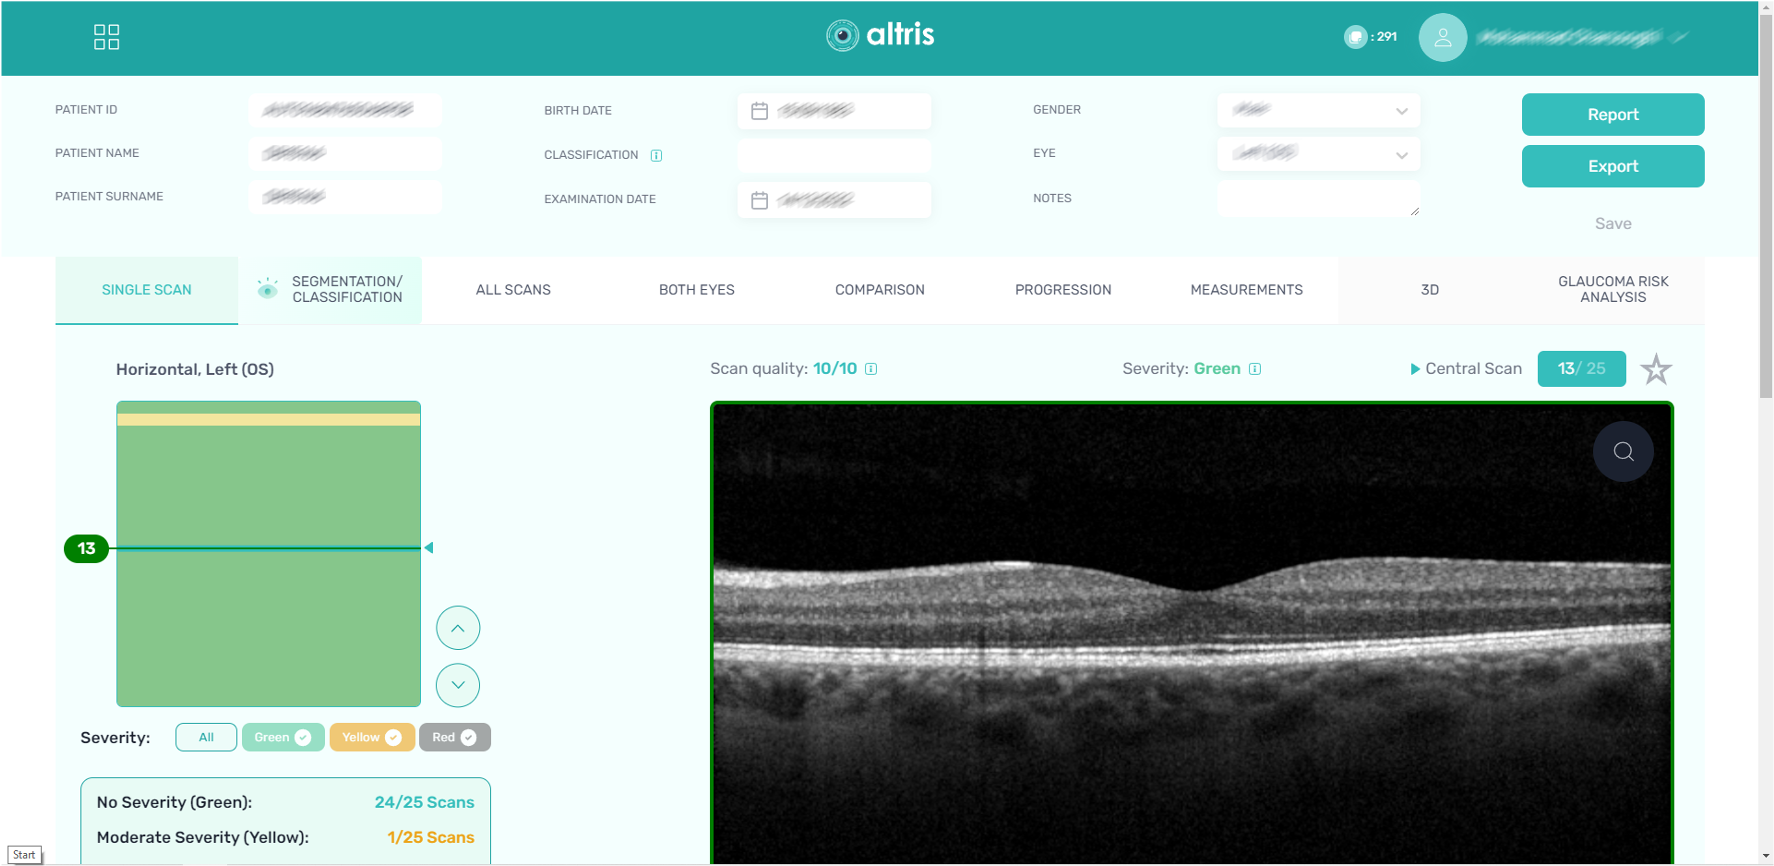
Step 14. And the corresponding data by clicking on the examination
Updated about 1 month ago